

Overview of How To Repoint A Patio?
Patio joints don’t last forever. Weather, foot traffic, and natural movement can all cause the mortar between paving slabs to crack or come loose over time. Repointing helps restore those joints, keeping your patio stable, tidy, and built to last.
In this guide, we’ll walk you through everything you need to know about how to repoint a patio. You’ll learn how to spot the signs that it’s time, what tools and materials to use, and how to tackle the job step by step. Whether you’re a seasoned DIYer or just getting started, we’ve got you covered.

Table of Contents
Key Considerations
- Repointing a patio involves removing old jointing material and replacing it to improve stability, prevent weed growth, and extend the life of the surface.
- Signs your patio needs repointing include cracked joints, weeds growing between slabs, or loose paving; most patios require repointing every 5 to 10 years.
- The process includes preparing the area, removing damaged mortar, mixing or applying new jointing material, and allowing for proper curing.
- Common materials include traditional sand-and-cement mortar, dry mix, or resin-based compounds; resin offers longer durability and is easier for DIY use.
- DIY patio repointing usually costs £10-£25 per m², while professional installation typically ranges from £30-£60 per m², with full jobs usually completed in 1-2 days.
- Regular cleaning, gentle maintenance, and sealing can help joints last longer and prevent recurring damage caused by moisture or movement.
What Patio Repointing Involves And Why It’s Important
Patio repointing means removing the old mortar or jointing material between your paving slabs and replacing it with a fresh, durable mix. This process prevents water from seeping beneath the slabs, which can lead to erosion and instability. It also helps stop weeds from growing between the gaps and keeps everything securely in place.
A patio that’s been properly repointed doesn’t just hold up better, it looks better, too. Tidy joints give the whole space a neater finish and make cleaning much easier. In the long run, it protects your investment and ensures your outdoor paving is built to last.
When and How To Tell Your Patio Needs Repointing
Most patios need repointing every 5 to 10 years, depending on the materials used, how much wear they get, and the local weather. But you don’t have to guess, there are clear signs that it’s time to act. Catching these early can help you avoid bigger repairs down the line.
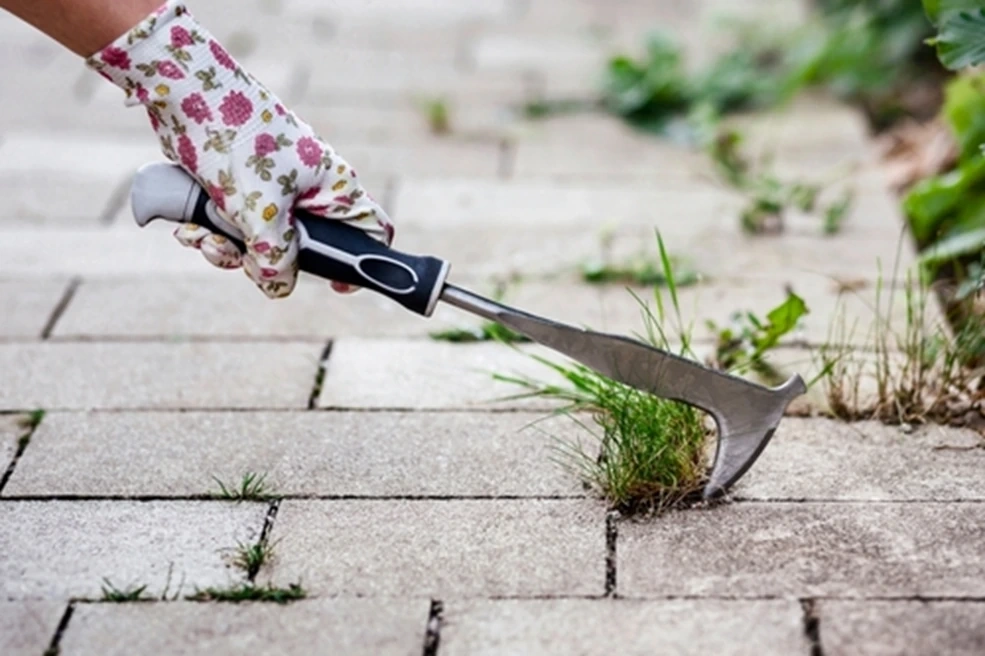
- Look out for weeds growing in the joints, cracks in the mortar, or slabs that feel loose underfoot.
- You can also press a screwdriver or similar tool into the joints, and if the material breaks away or crumbles easily, it means the pointing has failed.
- That’s when it’s time to repoint patio slabs to keep everything solid and secure.
When and How To Tell Your Patio Needs Repointing
Tools And Materials Required For Repointing
Before you begin repointing a patio, make sure you’ve got the right tools and materials for the job. Here’s a quick checklist to guide you:
Tools:
- Cold chisel or angle grinder
- Hammer or mallet
- Pointing trowel
- Wire brush
- Soft broom
- Bucket or mixing tub
- Hose or watering can
Materials:
- Cement-based mortar or jointing compound
- Sharp sand (if mixing mortar)
- Water (for mixing or cleaning)
- Protective gloves and knee pads
Whether you’re using a traditional mix or a resin-based compound, always follow the product instructions for best results.
Step-By-Step Process For Repointing A Patio
Repointing a patio can be done in a day or two, depending on the size of the area. Follow these five clear steps to get a strong and lasting finish.
Step 1: Prepare The Patio
Sweep the entire patio with a broom to remove loose debris. Rinse the surface with water if it’s particularly dirty. Make sure the area is clean and dry before starting.
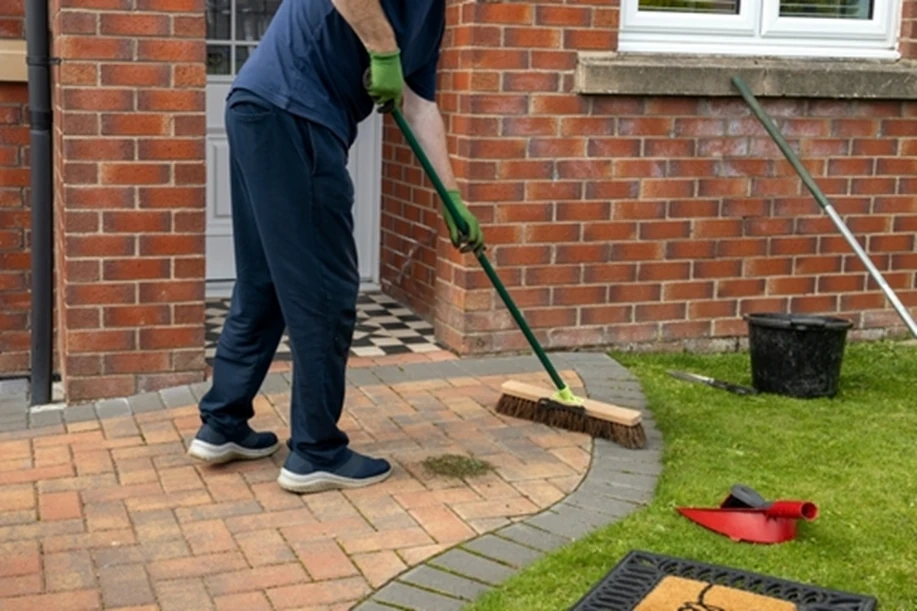
Prepare The Patio
Step 2: Remove Old Pointing
Use a cold chisel and hammer (or a grinder if needed) to carefully remove the old mortar from the joints. Aim for a depth of around 20-25 mm. Brush out the loose dust with a wire brush and make sure the joints are clean and empty.
Step 3: Mix Your Pointing Material
Mix a standard mortar using 4 parts sharp sand to 1 part cement, adding just enough water to get a stiff, workable consistency. Alternatively, you can use a ready to use jointing compound that requires no mixing and is easier for beginners.
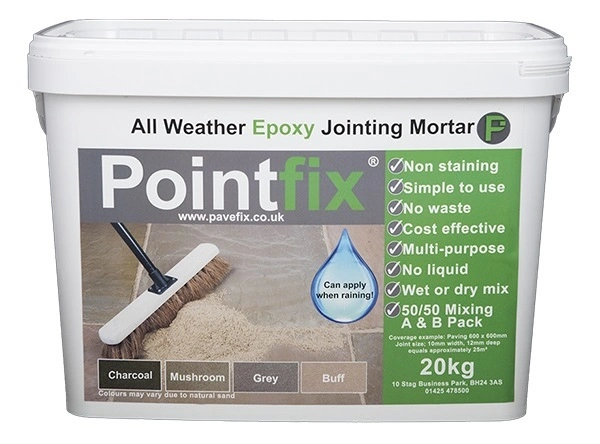
Pointfix Jointing Compound Mortar (20KG)
Step 4: Apply The New Pointing
Using a pointing trowel, push the mortar firmly into the joints. Work in small sections and smooth the surface with the edge of the trowel. Remove any excess material before it dries. If using a brush-in compound, wet the patio slightly and sweep the compound into the joints using a broom.
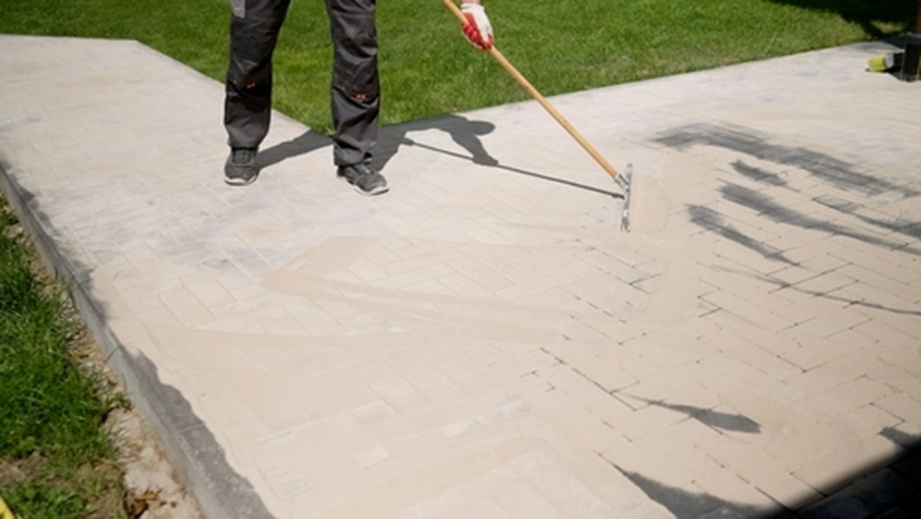
Apply The New Pointing (Brush-In)
Step 5: Maintain Moisture During Curing
For cement based mortar, lightly mist the area with water to help the curing process, especially in hot weather. Avoid walking on the patio for at least 24 hours. If using resin or brush in compound, check the drying times on the packaging.
Maintain Moisture During Curing
Types Of Pointing Materials For Patios
There are several options available for repointing patio slabs. The right choice depends on your budget, patio type, and how confident you feel doing the work yourself.
Traditional Mortar Mix
This is the most common option. A mix of sand and cement gives a hard, durable finish and works well with natural stone and concrete paving slabs. It requires careful mixing and application but offers long-term results.
Dry Sand And Cement Mix
This method involves brushing a dry mix into the joints and lightly spraying it with water. It’s faster but less reliable in wet or windy conditions. It’s not suitable for high-traffic areas.
Resin-Based Jointing Compounds
Resin or epoxy based compounds are flexible, water-resistant, and ideal for patios exposed to heavy use. They are more expensive but last longer and resist cracking. These are also the easiest options for DIY users learning how to regrout a patio.
Cost Of Repointing A Patio And What Influences It
The cost of repointing a patio depends on a few key factors, including size, materials, and whether you hire help. Here’s a breakdown of what to expect.
Key Pricing Factors And Typical Ranges
| Factor | Estimated Cost Range (DIY) | Typical Lifespan |
| Materials (mortar/compound) | £10-£50 per m² | 5-20 years (depending on type) |
| Tools (if needed) | £20-£60 upfront | Reusable for many years |
| Sealants or cleaners | £10-£30 | 2-5 years (with reapplication) |
Using standard mortar is usually the most affordable option. It works well for many types of patios and is easy to source. Resin based products cost more but offer longer lasting results and require less maintenance.
Labour Costs And Timelines To Expect
- Hiring a professional to repoint patio slabs typically costs £20-£40 per m² including labour and materials.
- A small to medium patio may take 1-2 days to complete, depending on weather and access.
Extra Costs Like Cleaning, Sealing And Waste Removal
You may need to clean the patio beforehand or seal it afterwards. If so, budget extra for products or services. Also factor in waste disposal if removing large amounts of old mortar.
- A well-done patio repointing job can last anywhere from 5 to 15 years.
- The exact lifespan depends on the material used, weather conditions, and general maintenance.
- Cement mortar tends to crack earlier, while resin-based solutions can last up to 20 years.
- Keep an eye on the joints and plan to redo them when you notice early signs of wear.
- Cracked or sinking joints are often caused by movement underneath the slabs or freeze-thaw weather cycles.
- Weeds can also push through if joints are too shallow or loose.
To fix minor damage, reapply mortar in small areas. For widespread problems, you’ll need to fully repoint a patio using fresh materials. Always remove the old jointing before adding new.
Regular maintenance helps your pointing last longer. Sweep your patio weekly to remove leaves, dirt, and seeds. Avoid using pressure washers directly on joints.
The best choice depends on your patio and how confident you feel doing the work yourself. Traditional mortar offers a strong finish at a low cost, while a resin-based jointing compound is simpler to use and often lasts longer. You’ll find it easier to decide once you understand how to grout paving slabs and maintain a consistent finish.
FAQs (Frequently Asked Questions)
Can I repoint a patio myself, or should I hire a professional?
Yes, you can repoint a patio yourself using basic tools, a steady hand, and some patience. It’s a manageable job for most DIYers, especially on smaller patios. However, complex layouts or areas with heavy wear may benefit from professional results.
What is the best material to use for patio repointing?
The best choice depends on your patio and your confidence with DIY. Traditional mortar is budget-friendly and strong, while a resin-based Jointing Compound is easier to apply and lasts longer. Consider your patio’s finish and how much maintenance you’re willing to do.
How long does patio repointing take?
Most patios can be fully repointed in one to two days, depending on size and weather. Curing times vary, some materials need 24 hours or more to set properly. Always wait until it’s fully dry before walking on it.
How much does it cost to repoint a patio in the UK?
DIY costs typically range from £10-£50 per m², depending on materials. If you hire a professional, expect to pay around £20-£40 per m² including labour. Costs may increase with prep work, waste removal, or sealing.
What happens if I don’t repoint my patio?
Skipping repointing patio joints allows moisture and weeds to get in, which can loosen slabs and damage the surface over time. It also leads to uneven joints and a less tidy finish. Left untreated, the damage can become costly to repair.

Whether your patio is in need of a comprehensive clean or you're just aiming to refresh your outdoor space, this Read more

In all garden designs, steps serve more than just a practical purpose; they enhance the visual appeal of your outdoor Read more

Patio slab painting is becoming increasingly popular, with people painting paving slabs for various reasons, in particular, painting patio concrete Read more

Stopping weeds from growing between block paving is important because they can damage the surface and make the area look Read more